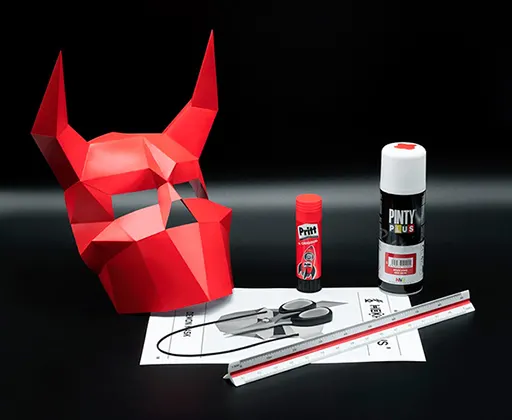
Geometric or polygonal masks are becoming increasingly popular; they are used in TV series, movies, music videos, television shows, advertising spots... they're original and very eye-catching!
But, how can I make a 3D paper mask? What materials do I need to get started? Can adults and children use them? Are they difficult to assemble?
At HEKREATIONS we have been designing paper masks since 2018 and we are going to tell you all the details.
Table of Contents
What materials do I need?
How to print the mask templates?
How to make the mask for kids?
Should I print the PDF on white paper or on colored paper?
How to cut the pieces from the templates?
How to fold the mask pieces?
How to assemble the mask?
How to customize the mask?
Where can I purchase mask templates?
The easiest way to open and print the mask templates is by using Adobe Acrobat Reader DC, a free PDF reader that you can download for your desktop or laptop computer from here: get.adobe.com/uk/reader
We recommend using A4-size paper or US letter size, with a weight over 150 gsm. You can find paper of this weight at any medium or large stationery store, and your home printer should be able to handle it without any problems. As for ink color, since the templates and instructions are in black and white, you’ll only need black ink.
All of our masks have been designed to be worn by any average adult. To do this, you must print the PDF with the Scale set to 100% in the Print Settings.
If you want to make the mask for a child, or if you think your head might be significantly larger or smaller than average, you can follow these steps to make sure the mask is the right size for you:
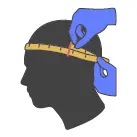
Measure the desired head circumference (in centimeters) with a sewing tape measure
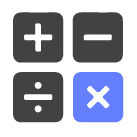
Multiply the head measurement x1.64
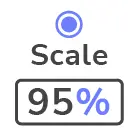
Enter the result in the % Scale field in the Print Settings

Print the PDF and build the mask in the desired size!
It’s something simple and practical that, looking at the reviews of some parents who includes photos of their kids using our masks (somewhat smaller) in their costumes, it seems to work perfectly.

Although the house does not usually start with the roof, it is important that we make this clear before we continue, even though it is more related to customization. To give color to the masks you have 2 options:
Each template includes an additional page (like the one shown in this section) that explains what you need to do based on the option you choose.
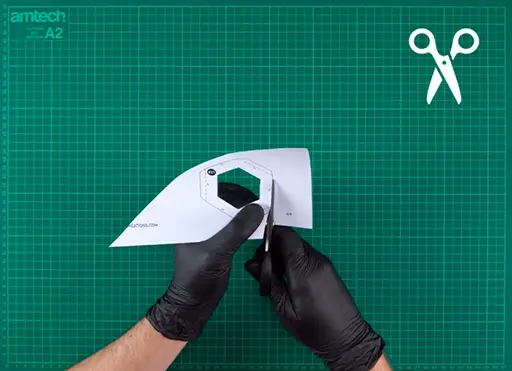
A pair of scissors and a cutter will be your best allies in this step. We use scissors to cut out the templates from the sheet, following the solid outer lines, and reserve the cutter for the more difficult parts where there isn’t much room to maneuver, such as sharp turns, internal holes in some mask templates, etc.

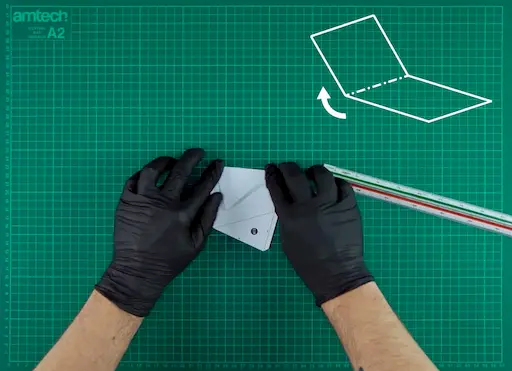
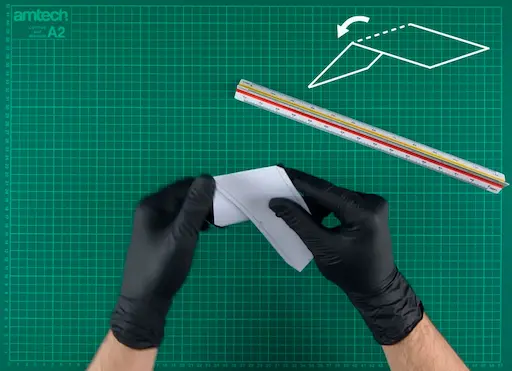
A ruler or a square will be useful, as long as it is not too thick. You must keep in mind that:
Glue sticks, like those from the brand Pritt or similar, are ideal for gluing the pieces together. You can use adhesive tape if you prefer. Assembling the mask is as simple as gluing the matching numbered tabs together (1-1, 14-14, 27-27...), following the order of the pieces (labeled with #) in ascending order: #1, #2, #3, #4...
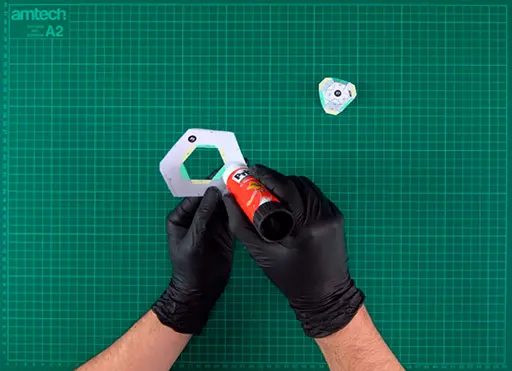
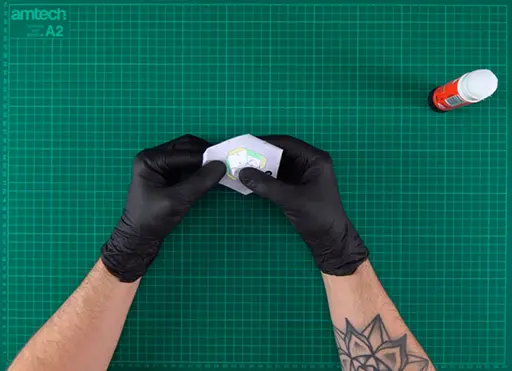
Remember that the glue or adhesive tape should be applied on the side of the flap where there are no numbers or lines (the opposite side of the templates) and that the flaps should be glued on the inside of the mask, as we do not want them to show on the outside of the design.
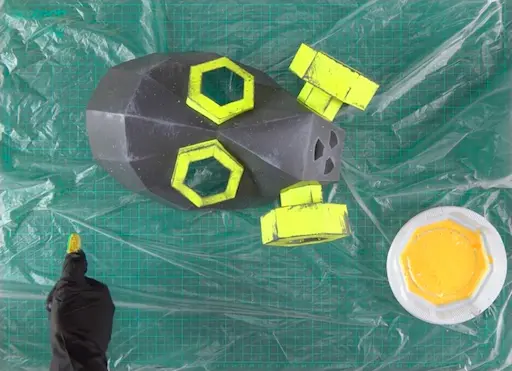
We leave the most creative part in your hands, do whatever you like! From simply assembling the mask to spray painting it and adding your personal touch with brushes and acrylic paint.